 |
 |
This install takes 10 - 15 minutes.
Click on the images for larger views. |
Step 1: Getting the required items together
This install requires:
- 1 Set of Side Marker Bulbs
- Small Flat Screwdriver
- A BMW M3 (E46).
- 10 - 15 minutes of free time.
|
 |
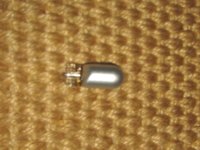
Platinum Vision Side Marker Bulb |
Step 2: Releasing the side marker housing
- Take a small flat screwdriver and insert it at the forward edge of the side marker light housing. Be careful not to scratch the paint!
- Push the blade of the screwdriver toward the back of the car - you will feel the housing move about 1 - 2mm toward the rear.
- Pull out the front of the side marker housing to release it.
|
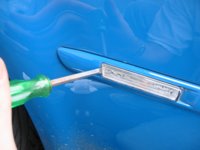
Pushing the Housing Back
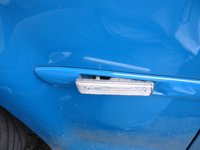
Front of the Housing Released |
Step 3: Removing the side marker housing
- Once the front of the housing is free move it forward to release the rear end.
- You have to rotate the housing 90 degrees to pull it free of the vehicle.
- Don't yank the housing all the way out or you will spend the next few hours fishing for plug inside the fender.
|
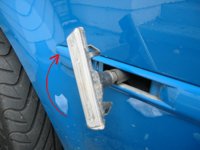
Rotating the Housing |
Step 4: Getting at the bulb
- Grab the base of the assembly (right above where the wires enter - see image).
- While holding the rear of the assembly, rotate the housing counter clockwise (about a quarter turn).
- Once the housing is released pull it off exposing the bulb.
|
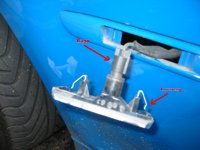
Releasing the Housing

Exposed Side Marker Bulb |
Step 5: Replacing the bulb
- Gently pull the bulb straight out of the socket (do not try to rotate it).
- Notice the 2 tabs inside the socket.
- Align the tabs on the new bulb with the tabs inside the socket and gently push the bulb into place.
|
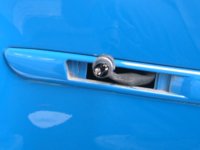
Close up of Socket |
Step 6: Reassembly
- Reassemble the housing in reverse steps.
- Insert the rear end of the assembled housing into the slot in the fender.
- Push it back to compress the retaining clip.
- Snap front into place.
- You're done!
|
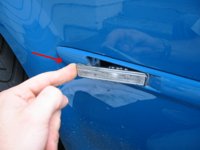
Reinstalling the Assembly
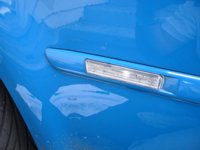
Finished Job with Platinum Vision Bulb |

|


